win11安装麒麟arm64服务器系统
如果cpu比较差就不建议尝试了,使用i5-13600KF的CPU体验是:安装系统的过程很慢,安装完成后,后面启动运行都正常。
说明:在微软的windows11系统上通过qemu安装麒麟arm64版本的服务器操作系统。
已测试V10-SP1-0711、0518、SP2-0524,理论上使用相同方法也可以安装桌面系统和loongarch架构的系统,未测试。
一、准备软件
- 下载并安装qemu软件: https://qemu.weilnetz.de/w64/qemu-w64-setup-20230822.exe
- QEMU_EFI.fd文件:https://releases.linaro.org/components/kernel/uefi-linaro/16.02/release/qemu64/QEMU_EFI.fd
- 麒麟软件arm64操作系统:https://gxxc.wiki/kos
二、麒麟arm64系统的安装
-
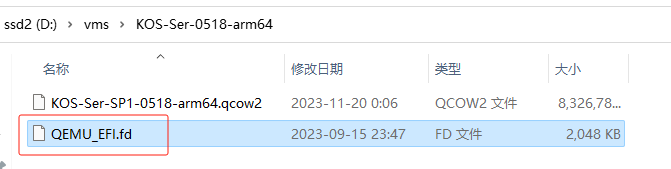
新建目录:D:\vms\KOS-Ser-0518-arm64,将QEMU_EFI.fd文件拷贝到该目录下。
-
创建qcow2磁盘(在window终端下执行以下命令):
& 'C:\Program Files\qemu\qemu-img.exe' create -f qcow2 D:\vms\KOS-Ser-0518-arm64\KOS-Ser-SP1-0518-arm64.qcow2 40G
-
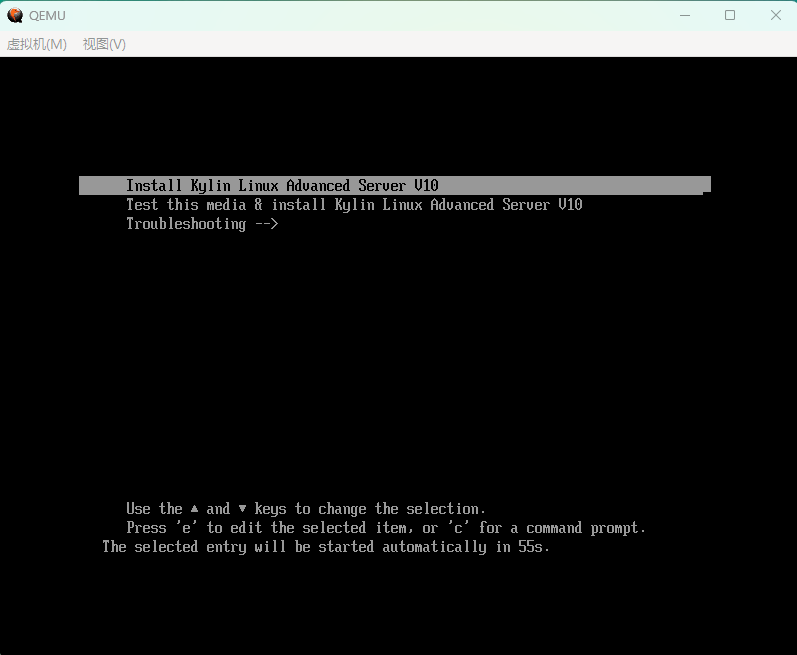
安装系统(在window终端下执行以下命令):
& 'C:\Program Files\qemu\qemu-system-aarch64.exe'  `
-cpu cortex-a72 -smp 4 `
-m 8192 `
-M virt -bios D:\vms\KOS-Ser-0518-arm64\QEMU_EFI.fd `
-device VGA `
-device nec-usb-xhci `
-device usb-mouse `
-device usb-kbd `
-drive if=none,file=D:\vms\KOS-Ser-0518-arm64\KOS-Ser-SP1-0518-arm64.qcow2,id=hd0 `
-device virtio-blk-device,drive=hd0 `
-drive if=none,file=E:\ISOS\server\V10-SP1-0518\Kylin-Server-10-SP1-Release-Build20-20210518-aarch64.iso,id=cdrom,media=cdrom `
-device virtio-scsi-device `
-device scsi-cd,drive=cdrom  `
-net nic
ctrl + alt + G释放鼠标

-
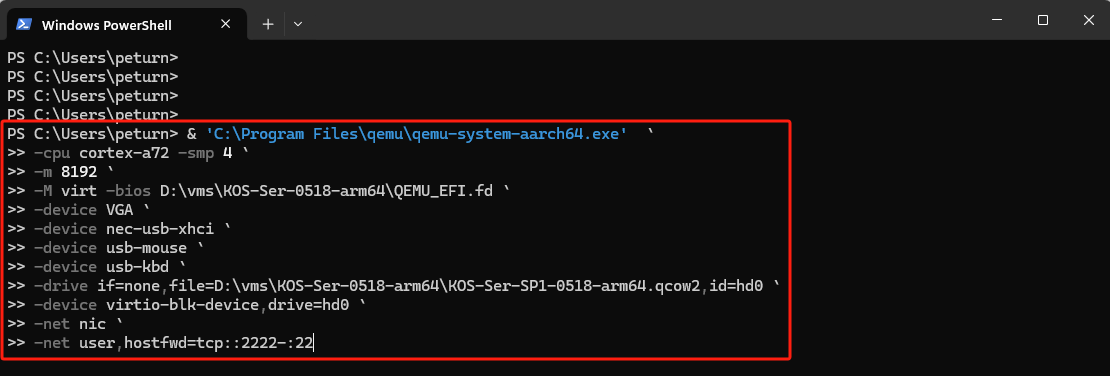
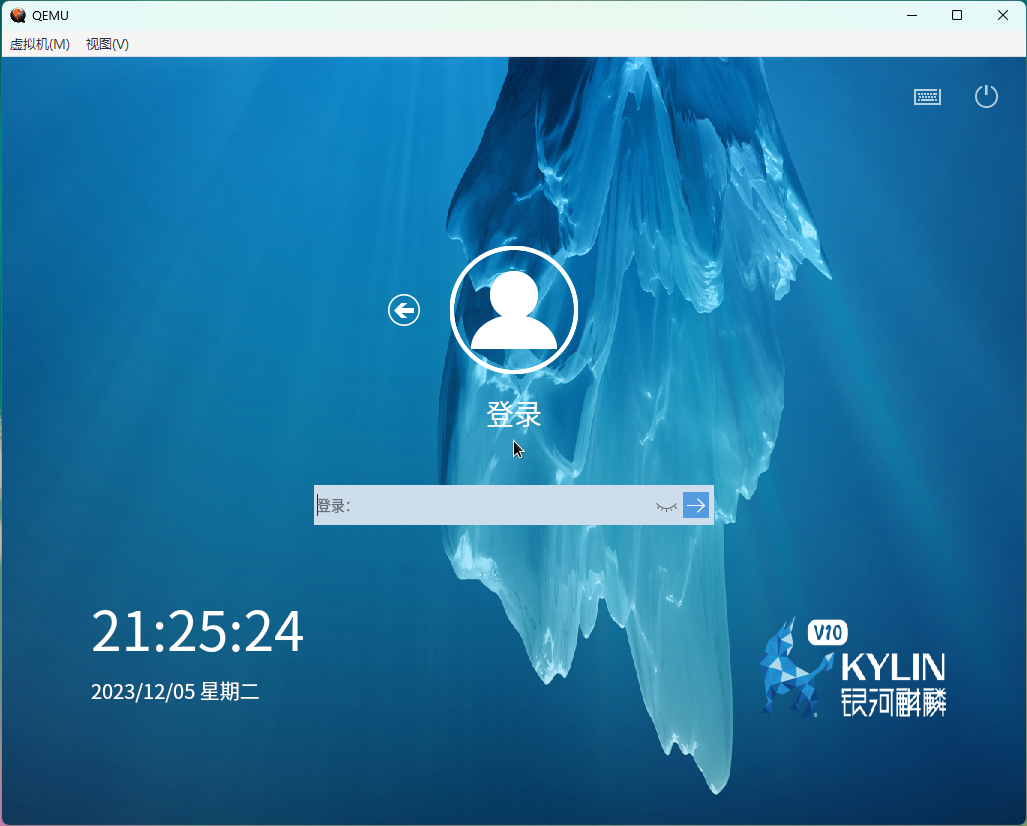
启动系统(在window终端下执行以下命令):
& 'C:\Program Files\qemu\qemu-system-aarch64.exe'  `
-cpu cortex-a72 -smp 4 `
-m 8192 `
-M virt -bios D:\vms\KOS-Ser-0518-arm64\QEMU_EFI.fd `
-device VGA `
-device nec-usb-xhci `
-device usb-mouse `
-device usb-kbd `
-drive if=none,file=D:\vms\KOS-Ser-0518-arm64\KOS-Ser-SP1-0518-arm64.qcow2,id=hd0 `
-device virtio-blk-device,drive=hd0 `
-net nic `
-net user,hostfwd=tcp::2222-:22
按
ctrl + alt + G组合键,释放鼠标
三、loongarch64系统安装(KOS-Server-2403-loongarch64)
-
新建目录:
D:\vms\Server-2403-loongarch64 -
创建磁盘:
qemu-img.exe create -f qcow2 D:\vms\Server-2403-loongarch64\Server-2403-loongarch64.qcow2 50G -
安装系统
qemu-system-loongarch64 -m 8G -cpu la464-loongarch-cpu -machine virt -smp 4 ` -bios D:\vms\Server-2403-loongarch64\QEMU_EFI_7.2.fd ` -serial stdio -device virtio-gpu-pci ` -net nic -net user,hostfwd=tcp::2225-:22 ` -device nec-usb-xhci,id=xhci,addr=0x1b ` -device usb-tablet,id=tablet,bus=xhci.0,port=1 ` -device usb-kbd,id=keyboard,bus=xhci.0,port=2 ` -hda D:\vms\Server-2403-loongarch64\Server-2403-loongarch64.qcow2 ` -cdrom H:\ISOS\Kylin-Server-V10-SP3-2403-Release-20240426-loongarch64.iso -boot once=d -
启动系统
qemu-system-loongarch64  -m 8G -cpu la464-loongarch-cpu -machine virt -smp 4  `
-bios D:\vms\Server-2403-loongarch64\QEMU_EFI_7.2.fd  `
-serial stdio -device virtio-gpu-pci  `
-net nic -net user,hostfwd=tcp::2225-:22  `
-device nec-usb-xhci,id=xhci,addr=0x1b  `
-device usb-tablet,id=tablet,bus=xhci.0,port=1  `
-device usb-kbd,id=keyboard,bus=xhci.0,port=2  `
-hda D:\vms\Server-2403-loongarch64\Server-2403-loongarch64.qcow2